In the process of Installation of Epoxy Flooring (Epoxy flooring, polyurethane flooring, and methyl methacrylate flooring), in addition to having sufficient skills, knowledge, and experience, the applicator team must use high-quality and standard resin flooring materials, as well as appropriate and the standard tools and equipment. In the following equipment for installation, the epoxy flooring is introduced in two categories: electric and manual.
Electrical Equipment for Installing Resin Flooring
Electrical epoxy flooring application tools:
Substrate Preparation Equipment:
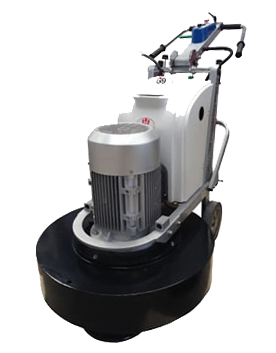
Preparing the floor before applying resin flooring is of special importance. The substrate preparation includes grinding, sanding, or a combination of both following vacuum cleaning. If you want to do it right, you have to use the right grinding and sanding machine with a wide range of diamonds and discs. The purpose of this stage is:
– Making the substrate even with no ups and downs as possible;
– Removing any germs, particles, and debris; and
– Making anchors for physical entanglements between the flooring and the substrate.
Industrial Vacuum Cleaner:
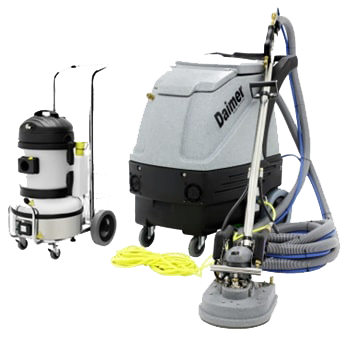
Industrial vacuum cleaners are usually used in large areas where surface preparation (floor sanding) is associated with the production of dust and debris. Also, by connecting industrial vacuum cleaners to grinder machines, the spread of dust in the environment during grinding would be prevented, and the safety of installation staff would increase.
Drill Mixer:
Resin flooring consists of at least two components: 1 resin part, and 2 hardener. The hardener is added to part A to start the polymerization reaction, which turns the flooring from liquid form to a solid surface. To get the optimum results, we have to make sure they are mixed thoroughly and in appropriate portions.
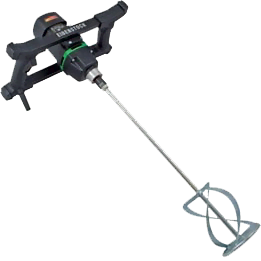
For correct and principled mixing of component A (resin) and component B (hardener), it is better to use drill mixers (stirrer). The drill mixer gently mixes the two components, reducing the problems caused by incorrect mixing, which leads to multiple curing problems, by creating a perfectly homogeneous mixture.
If the volume of resin flooring material is small, hand mixers can also be used to mix resin and hardeners.
more: mixing Resin and Hardener mistakes
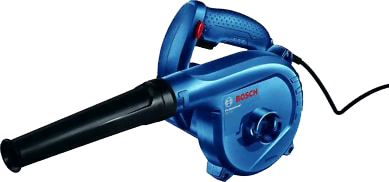
Blower:
Electric blowers are usually used for decorative applications and for applying metallic epoxy flooring patterns.
Manual equipment
Manual epoxy flooring tools and equipment:
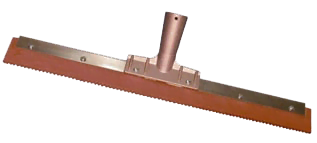
Squeegee (toothed):
Toothed or combed squeegees are used to apply self-leveling layers (such as BASADUR E® 303) of resin floors. This tool helps to spread the self-leveling layer (usually 1 mm thick) better and more evenly. In large quantities.
Note that when using a comb trowel (45°angle), usually more material is used. Note that the depth of the Squeegee is determined based on the required thickness of the desired epoxy floor covering.
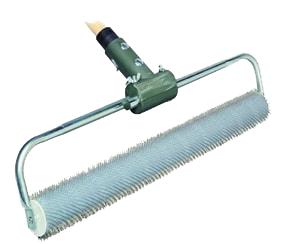
Rollers:
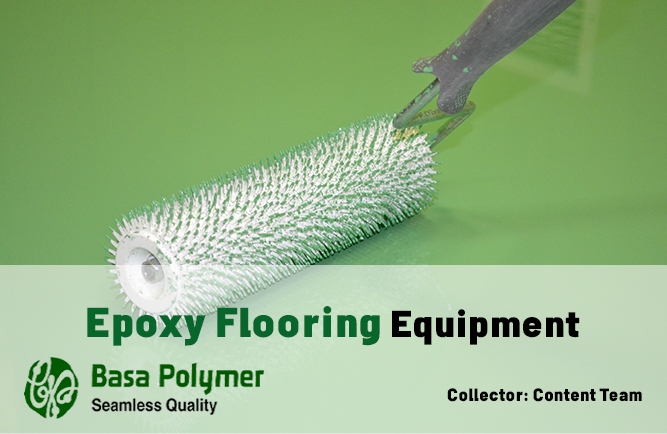
Rollers are used to apply primer and some clear varnishes in the last step as a top coat (such as BASADUR® E 401). Also, if we want the final surface of the resin floor to be textured or so-called orange peel, we apply the final layer of the floor with a roller.
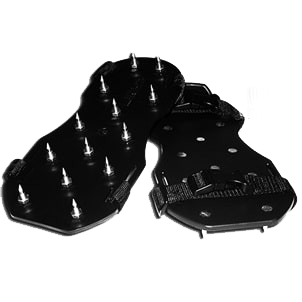
Epoxy Shoes (Spiked Shoes):
In order not to leave footprints on the floor during the performance, better access of the applicator to all parts of the floor, and ease of walking on the wet and relatively sticky layer of resin floor, spiked shoes are used. The self-leveling property of resin floors makes it easy and fast for shoelaces to fade and leave no trace on the floor.
Brush:
Brushes are used to apply the paint on corners and areas where using a trowel or squeegee is not possible. Remember to wash the brush with appropriate solvent after installation of epoxy flooring, so that you can use it again.
Safety Gloves:
Safety always comes first! No matter whether you are using solvent-free material, there are still chemicals that you have to be careful of when using them. Wearing gloves and appropriate working clothes is a good way to keep the installation staff safe.
More:
